Welcome to week 6 of the Happy Flower Garden Quilt Along! This week we will be making the second half of our Tulip Blocks!
This extra week will give time for some to catch up! It’s not too late to join in the fun! Download your pattern here!
The photo above is of my first Tulip Block from my First Happy Flower garden quilt. I saw this Macreme’ Fabric by Rashida Coleman-Hale for Cotton+Steel Fabrics. You can read all about how this quilt here!
I am loving seeing all of your finished blocks in the Facebook group and on Instagram!Make sure to share your progress photo’s on Instagram with the hashtag #HappyFlowerGardenQA Or Post your photo’s in the Facebook Group!!
I will be filming a LIVE Video Today, Tuesday June 5th at 10:15 am PDT (West Coast USA) in the Facebook Group! I will be checking in with everyone to see how it’s and answering any questions you have. Since last week I went over how to make this block, this week’s video will be very short. The video will be saved for later viewing.
Facebook Group!
Quilt Along Schedule:
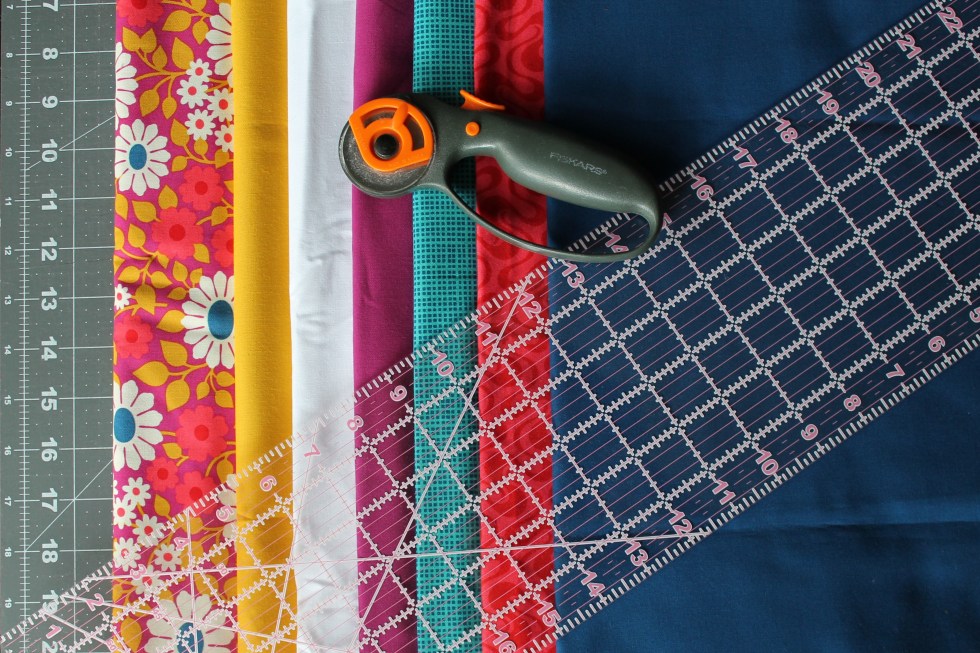
May 1st – Week 1 – Cut your Fabric
May 8th – Week 2 – Make your Half Square Triangles
May 15th – Week 3 – Make your Flying Geese units
May 22nd – Week 4 – Make your Bottom Rectangle Blocks
May 29th – Week 5 – Make half of your Tulip Blocks
June 5th – Week 6 – Make the other half of your Tulip Blocks
June 12th – Week 7 – Make your Corner Tulip Blocks
June 19th – Week 8 – Make your Star Flower Blocks
June 26th – Week 9 – Add Sashing and Cornerstones (Finish Star Flower Blocks if needed)
July 3rd – Week 10 – Baste, Quilt and Bind
The pattern will be 15% OFF through the end of the Quilt Along. If you still need your pattern you can download it by clicking below:
Download Pattern
Happy Quilting!
Andrea 🙂

")