Posted on Leave a comment

Butterflies and Blooms Quilt Pattern

My Butterflies and Blooms Quilt Pattern is now available in my shop!

Digital (USA)
Digital (International Customers)
Paper Patterns (USA)

This pattern was originally going to be two separate block patterns, but the more I thought about it, it just seemed right to put these two beautiful blocks together in the same quilt.

This is a 16 inch block quilt! This is my favorite size blocks. You can make a beautiful large block with out having super tiny pieces.

The pattern comes with directions for a Baby (48 x 48 in), Lap (48 x 64 in), Throw (64 x 80 in), Double (80 x 96 in), Queen (96 x 112 in) and King (112 x 112 in). If you would like to make a Twin size, I’d recommend making the Throw and adding a small border.

This pattern is great for the adventurous beginner to intermediate quilter.

This pattern comes with cutting instructions to make it scrappy/fat quarter friendly or you can making it using 6 main fabrics (3 for the Butterflies and 3 for the Blooms) with a background fabric.

My first quilt I made the baby size using the scrappy/fat quarter friendly directions. I went digging through my fabric bins and found a ton of this Atrium fabric by Joel Dewberry for Free Spirit Fabrics. I had made my daughter a twin size quilt using these fabrics and loved them so much, I bought way too much extra.

I was excited to find out I had plenty of these fabrics to make a baby size quilt.

I found a Kona cotton blue that was very close the the blue on the front for my backing fabric. I decided to try a new quilting style. I did organic wavy lines from the top to the bottom using my walking foot. I have been wanting to try this for a while, but was worried it would not turn out how I had envisioned it. I’m so happy with how it turned out. I would definitely try this on another quilt.

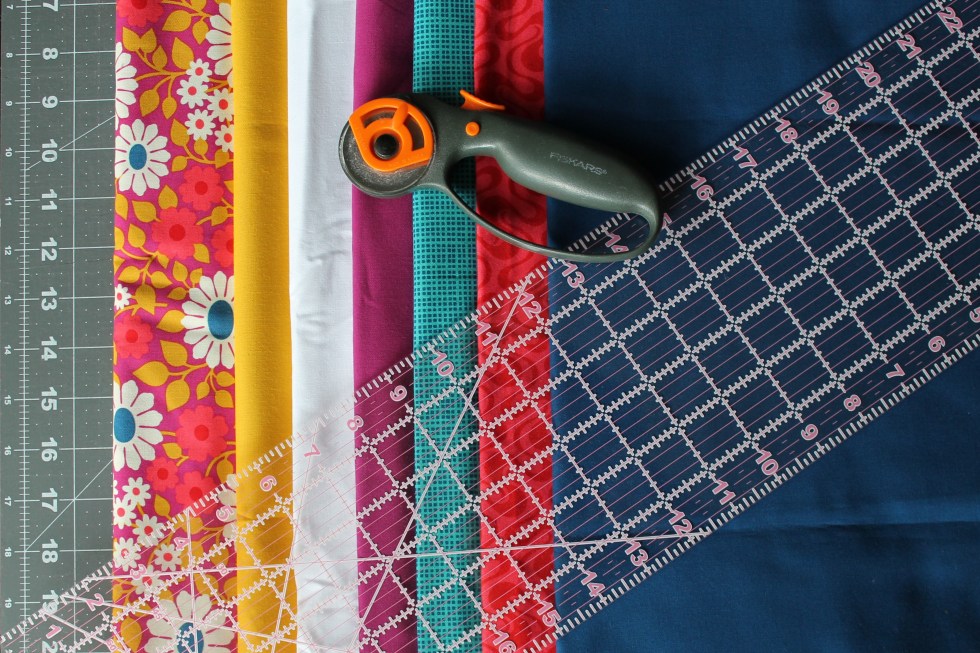
Next up, I’m making a throw size quilt using the 6 main fabrics cutting directions. I have been wanting to buy these Mountain Meadows fabrics for a long time and I thought these would be perfect for this quilt.

I hope you love this design as much as I loved making this quilt! I’m so excited to see your versions. Make sure to tag me when you are posting your photos on social media!
Share your photo’s with the hashtag #ButterfliesAndBloomsQuilt

Happy Quilting!
Andrea

Digital (USA)
Digital (International Customers)
Paper Patterns (USA)

TESTER QUILTS

My tester’s versions turned out sooooo gorgeous!!

Digital (USA)
Digital (International Customers)
Paper Patterns (USA)

Share your photo’s with the hashtag #ButterfliesAndBloomsQuilt

Posted on 11 Comments

Happy Flower Garden Quilt Along – Week 1 – Cutting our Fabric

IMG_6041 (2)

Yay! It’s the first week of the Happy Flower Garden Quilt along. It’s finally feeling like Spring here in Western Washington. The sun is shining and my flowers are starting to bloom.

Download Pattern

This week of the quilt along we will be cutting all our fabric. I like to cut all my fabric before I start a quilt. This make the piecing go together quickly.

I don’t pre-wash my fabric…I know that’s a No-No… But since I stopped pre-washing, I’ve loved being able to dive right into a project. The fabric is still crisp, when you wash the no longer stiff. Also when you wash your fabric it will shrink and  some times it will fray and you will loose some yardage. It also gives your finished quilt a nice crinkled look when it’s washed and dried. I like to throw a couple Shout Color Catchers in the wash when washing my finished quilt. This helps catch any loose dyes.

If you like to pre-wash your fabric, make sure to purchase a little extra to account for shrinkage!

Also, if you are using one of the alternative Flying Geese methods provided in the supplemental pdf. You will want to make sure to have a little extra fabric just in case.

Here is a Fabric Selection PDF you can print out. Cut your fabrics and tape/glue them to it!

Happy Flower Garden Quilt Fabric Selections

Cutting Your Fabric Tips:

*Get a NEW Rotary Blade (a dull blade makes it twice as hard to cut)
*Measure Twice and Cut Once
*Cut your largest pieces first, then cut the smaller pieces out
*Do NOT round up. Precise cutting is needed to make the 4 at 1 time no waste flying geese. So make sure to cut at the 3/8 or 7/8 marks (depending on what size you are making).

**If you may want to wait to cut your corner stones (Color E) and sashing strips until Week 9, but you can cut them now too! 🙂

I will be filming a LIVE Video Tuesday May 1st at 10:15 am PDT (West Coast USA) in the Facebook Group! I will be going over cutting your fabric and talk a little about the following weeks.

Facebook Group!

Quilt Along Schedule:

May 1st – Week 1 – Cut your Fabric
May 8th – Week 2 – Make your Half Square Triangles
May 15th – Week 3 – Make your Flying Geese units
May 22nd – Week 4 – Make your Bottom Rectangle Blocks
May 29th – Week 5 – Make half of your Tulip Blocks
June 5th  – Week 6 – Make the other half of your Tulip Blocks
June 12th – Week 7 – Make your Corner Tulip Blocks
June 19th – Week 8 – Make your Star Flower Blocks
June 26th  – Week 9 – Add Sashing and Cornerstones (Finish Star Flower Blocks if needed)
July 3rd – Week 10 – Baste, Quilt and Bind

I am so happy to be quilting along with you! I’m so excited to see your fabric picks!! Make sure to share your progress photo’s on Instagram with the hashtag #HappyFlowerGardenQA
Or Post your photo’s in the Facebook Group!!

The pattern will be 15% OFF through the end of the Quilt Along. If you still need your pattern you can download it by clicking below:

Download Pattern

Happy Quilting!
Andrea 🙂

Happy Flower Garden Etsy Image