
This post may contain Affiliate Links. When using the link, you pay the same amount for the items, I just receive a small commission.
Welcome to the last week of the Joyful Meadows Quilt Along! I can’t believe this quilt along is already finishing up. It has been so much fun quilting with you all! Thank you all for joining in the fun!
LIVE VIDEO
Join me tomorrow, Feb. 24th at 9 am PST (West Coast USA) for a LIVE video in my Facebook Group to go over Week 7 – Putting our quilt top together, Basting, Quilting and Binding our quilts!
You can watch this in my Facebook Group! If you can’t make it LIVE, that’s ok! I will save it to the Facebook group and upload it to my YouTube channel!
GRAB THE PATTERN! This quilt pattern will be 10% OFF thru the end of the quilt along (March 2nd)
CHECK HERE FOR PATTERN CORRECTONS
Paper Pattern (USA)
Digital Pattern (USA)
Digital Pattern (International)
Things you will need:
Backing Fabric (at least 6 inches wider and longer than your quilt top)
Quilt Batting (at least 6 inches wider and longer than your quilt top)
Basting Spray or Basting Pins
Binding Fabric
These are helpful but not necessary:
Hera Marker to mark out your quilting lines
Walking Foot (Helps pull your quilt from both the top and the bottom)
Finishing our Quilts!
Quilt Sandwich:
First you will need to make your Quilt Sandwich. You will need to cut and sew your backing fabric to make it fit under your quilt correctly. Make sure it is at least 3 inches wider than your quilt top on all sides (quilt top size + 6 inches). Trim your selvage edge off after joining your pieces.
Make your quilt sandwich by first laying down your quilt backing, wrong side facing up. Tape down to a hard surface, making fabric taut. Next lay your batting on top. Smooth out with your hands, do not stretch. Then lay your quilt top right side up, smooth out with your hands.
There are so many different types of batting. I really love the Warm Company products! I have been using the Warm and Plush a lot lately because it is a little thicker than the Warm and Natural and the Warm and White cotton battings.
Basting Your Quilt:

Spray baste: My favorite way to baste my quilt is by using Spray Baste! It makes basting so much easier. If you have allergies, this is probably not a good option for you. I’ve tried several different types of spray baste. Some are better than others. I love the Sulky temporary spray, it is low odor and doesn’t give you much overspray at all. But you need to make sure you will be quilting it in the next few days because the spray disappears in 2-5 days.
505 Temporary adhesive spray has come highly recommended by several quilters to me. I ran out and didn’t have any for this project. It has great stickiness without being overly sticky. I love that it does not get all over the place like some other sprays I have used. I will definitely be using this spray again.
Find a place where you can lay out your quilt. Make sure to tape the backing fabric taut to the floor (or large table).
Here’s great spray baste tutorial by Emily Dennis of Quilty Love. Spray Baste Tutorial
Morgan Kelly has a great table top spray basting tutorial on her Instagram. Table Top Spray Baste Tutorial
Pin basting: You can use large curved safety pin about 3 to 4 inches apart (about the width of your hand). I like to use the large curved basting pins. This takes a little longer than the spray basting, but is a great option.
Quilting your Quilt:
This step is totally up to you!
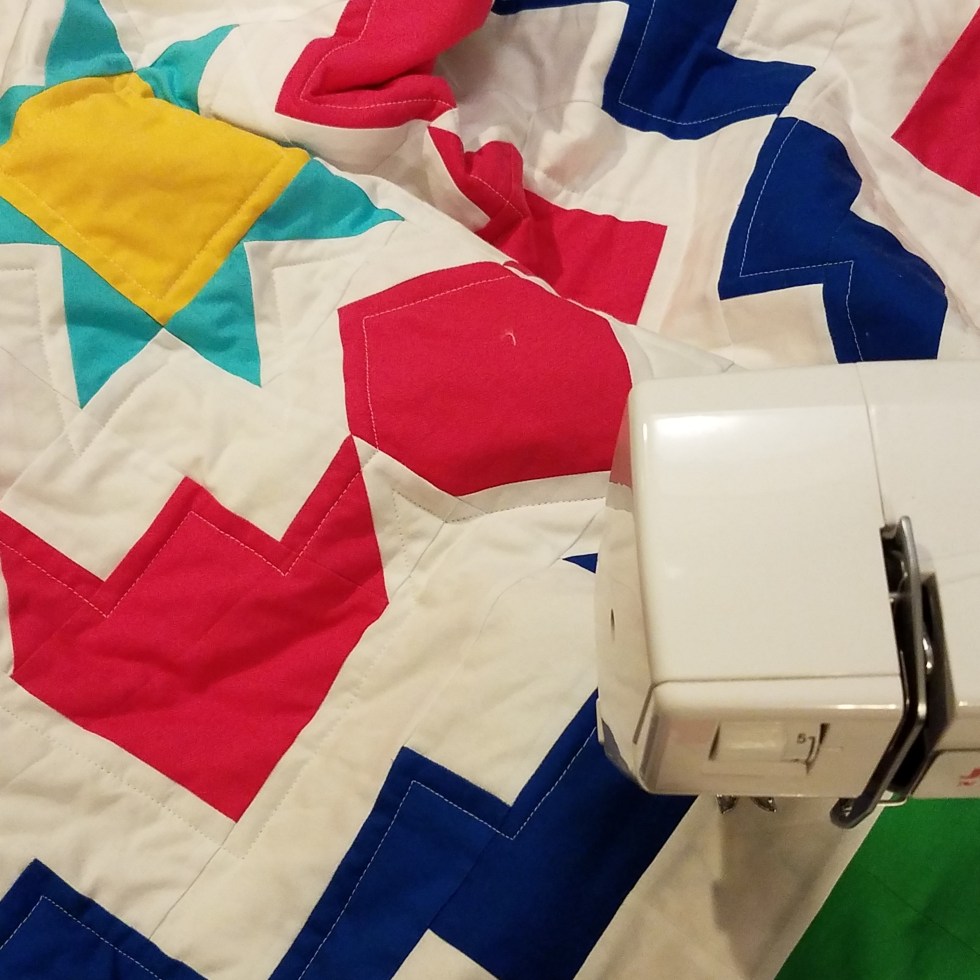
For my original quilt I used my foot and outlined the design lining my walking foot up with the seams of the design. Since I made the baby size and my batting says I need to be at least 6 inches apart, I didn’t need to mark any lines out. I just used the seams, which made it really quick and easy.
Hand Tie your Quilt: Some prefer to tie there quilt. Suzy Quilts has an cool way of tying quilts. Check out her Tutorial!
Hand Quilt: Here’s a wonderful video tutorial by Suzy Quilts all about How to Hand Quilt.
Machine Quilt using your Walking Foot:
Emily Dennis from Quilty Love has a great tutorial on how to Zig zag quilt your quilt with a Walking foot. Click here I love this method of quilting, it give your quilt great texture.
Free Motion Quilting:
Free motion quilting can give you great texture and if you aren’t great at quilting straight lines, this would be great for you. Suzy Williams from Suzy Quilts has a great Free Motion Quilting Tutorial. Click here.
Binding Your Quilt:
Binding is the fabric strip that goes on the edge of your quilt. It covers all of the unfinished edges and rounds out your quilt.

You will want to make sure to square up your quilt before you attach the binding. Cut off the extra batting around the edges and make sure your sides are straight and corners are squared.
Most quilters will cut 2 /12 inch by width of fabric strips and then sew them together at the ends at a diagonal. Then press the strip in half, so that you are wrapping 2 layers of fabric around all of your edges.
You can machine sew the binding to the front of your quilt and wrap it around to the back and hand stitch it down. Or some prefer sewing the binding to the back of the quilt, wrapping it around to the front and machine stitching it down.
One of my favorite binding tutorials is by Suzy Williams of Suzy Quilts. Go check it out!
I’m so excited to see everyone finished quilts! Make sure to post them in the Quilt Along Group on on Instagram with the Hashtag #JoyfulMeadowsQAL
Happy Quilting!
Andrea
Quilt Along Overview (with tester photos)
Jan 12, 2021 – WEEK 1 – Cut all the pieces
Jan 19, 2021 – WEEK 2 – Make ALL the Flying Geese and trim
Jan 26, 2021 – WEEK 3 – Make the Half Square Triangles, finish Flying Geese from last week
Feb 2, 2021 – WEEK 4 – Make 4 of Block 1
Feb 8, 2021 – WEEK 5 – Make 4 of Block 2
Feb 15, 2021 – WEEK 6 – Make 1 of Block 3
Feb 22, 2021 – WEEK 7 – Finish our quilt – Finish Quilt top, Baste, Quilt and Bind!


